Monday 21 November 2016

A TITANIC DAY

I don't know if Murphy's Law - "If anything can go wrong, it will" - is international or not but it certainly applies here at the moment.

Although Seagull looks fine from a distance:


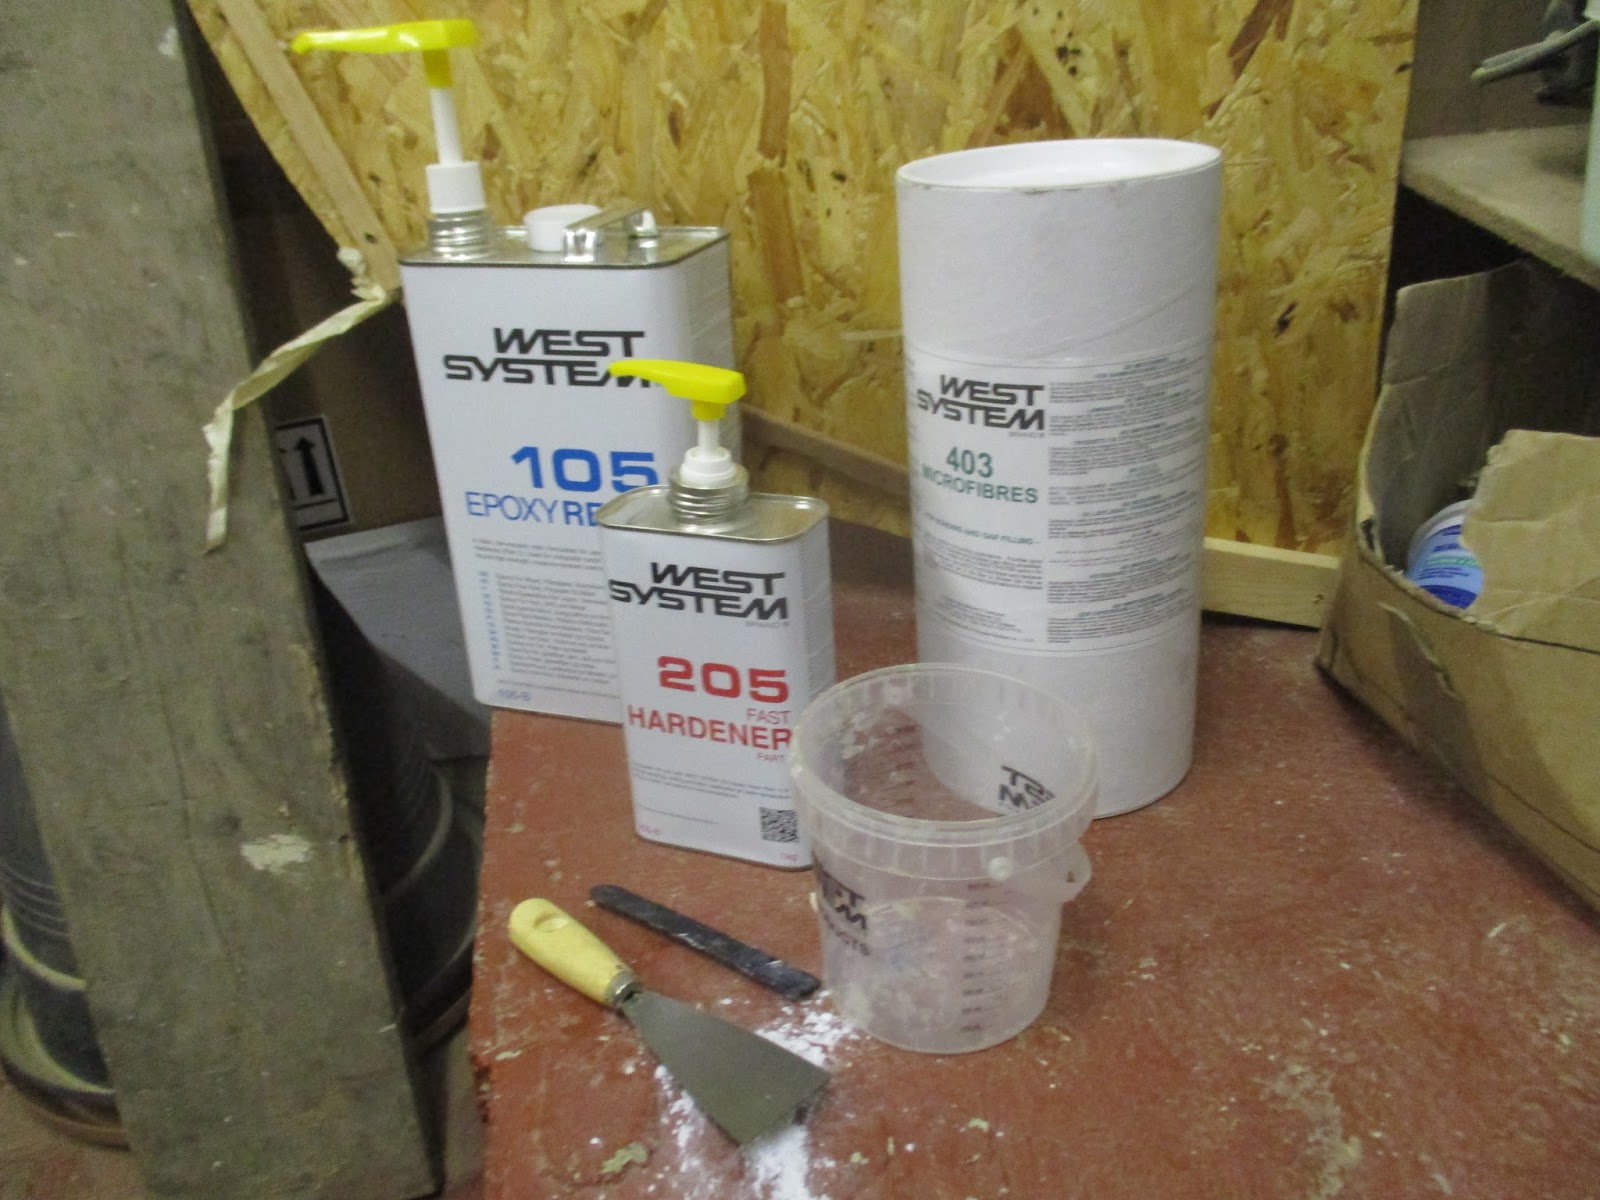
I'm really unhappy about the way the Epoxy Resin over the sheathing has worked out. I've never used this system before and never seen it done other than on videos. Consequently I have made all the classic mistakes.

   For a start, where sheets of sheathing lapped over each other the whiteness remains after two coats of epoxy. Worse than that are the large bubbles that have occurred near the stem and stern.


I will have to sandpaper these out and recover the area. On the stern I have cut out the bubbles to show what will happen to them if I ignore them: the bubbles will shatter at the first knock.


OK, I'll be able to fix the problems - but it means I will have to paint the outside of the boat to cover the cosmetic consequences of my ineptitude.

The next problem is the weather. We have storms raging, with freezing North Easterly gales. This direction turns my boathouse into a wind-tunnel and freezer.


I braved the conditions but the cold adversely effects the timber making it brittle. For example: the stem which I steam bent (a couple of posts ago) didn't like being being fixed back in position in the cold. There was was a sharp crack! and I turned to find this:


It seemed a good time to get back to portrait painting in a warm studio and wait for the wind to change direction.

Daisy (Great Granddaughter)


Work In Process - 'Brotherly Love'  (Great Grandsons) 

Monday 14 November 2016

The Emperor's New Clothes

Do you remember Hans Christian Anderson's story of the Emperor's new clothes? For those who don't: The emperor is scammed into buying an invisible set of clothes; the salesman convinces the emperor that only intelligent people can see the clothes. The Emperor parades in the nude whist everyone congratulates him on buying such a wonderful set of clothes.

Seagull, antithetically (my favourite word which means in contrast) starts off with a very visible set of clothes ... which slowly disappear, albeit they are still there. How this happens is rather difficult to explain, but I owe an explanation to my dear friends, Julie the painter/tutor/genius and Lynne the writer/tutor/genius, both were worried (see last post comments) that we would lose the rich colour of the planking.


Because boats are always female, when I dressed Seagull, the analogy  that comes to mind is a wedding dress. 


As you can see, the beauty of the wood seems to be hidden. Before I explain to you the process you're about to witness, let me set the scene.

1. The planks are made from Red Cedar because it is knot-free, has a lovely finish when varnished, and bends easily without splitting. The downside is that it marks easily if bumped - in the way boats do - and water eats it alive. So if I could cover it in something that gives it strength and stops it coming into contact with water then I would... and  that's exactly what I am doing: Woven Fibre Glass Cloth is the material I am using to sheath Seagull both outside and in.

2. Epoxy Resin is basically a glue, which I used earlier in this blog, and it is this that I shall use to stick the wedding dress onto the boat.


I push the yellow handle on tin 105 down and it delivers five portions of the resin into the tub at the front of the photograph. I then push down the handle of the smaller tin marked 205 and it delivers 1 portion of hardener in the tub. I then stir the concoction for 2 minutes until it is fully blended. The mixture has a working life of about 20-30 minutes during which time it gets hotter and hotter ... one can't hang around. I then pour it onto the fibre glass and I use a paint roller and plastic 'scraper' to spread it over the wedding dress.


It isn't as easy a process as it sounds: the cloth wants to move and make wrinkles and 'snags' as easily as ladies tights (so I'm 'er told).


It's surprising how long this takes to do: one side and the transom (back end) took most of the day.


There will be two further coats after this one. Besides being a glue, epoxy and the fibre glass set into a steel like coat that brings both strength and a resistance to surface damage. Finally, the resin sets like a very shiny varnish.

Friday 11 November 2016

The Icing (Frosting) On The Cake

I'm into completely new territory here - fibre-glass sheathing of the boat.

Some sources say don't administer an epoxy-resin priming coat, because there is a tendency for the fibre-class cloth to snag on it. However, I followed the advice of Selway Fisher, who designed the boat, and primed yesterday, as the last post shows.

The fibre glass cloth is very fragile and awkward to use and yes there was a tendency for it to snag. However, I don't know if it would have been easier without yesterday's application of the primer coat.

Well the sheathing is in place now, and I'm reminded of a Wedding Cake.


You can see why I removed the outer stem now: in order that the 'cloth goes under it - a heck of a job to have gone over it.

I put the sheathing on in three pieces.


.

The cloth is simply lying in place and I don't start epoxy-resin coating it until tomorrow: I need to start early so that I can coat it all in one go.

I keep trying to worry about the outcome of each stage but I refuse to let myself. It's a total new experience this fibre glass cloth and epoxy resin way of building ... so just enjoy the experience and don't expect expert outcomes.

Thursday 10 November 2016

A Lovely Finish

I should warn you that I only have 5 (corny) jokes in my repertoire. The first one I trot out every time I use varnish or paint:

Did you hear the one about the French Polisher who drank the varnish by mistake?
                    An Awful death ... but ... A Lovely Finish.

Today I removed the outer stem - for reasons I will show you later in the week. I then wiped every inch of the hull with Tak-Rags.


All my life I read about tak rags and could never find them. Now of course, with the Internet, one does a search and has the item in your hands within 24 hours (ish).

For those that don't know, Wikipedia defines them as a specialized type of wiping cloth that is treated with a tacky material. It is designed to remove loose particles of dust, dirt and lint that would contaminate a surface that is to be painted, coated, laminated, photo-etched, or otherwise finished.

I then applied one coat of Epoxy Resin, by roller, to the whole hull as a primer coat.


Next task up will be placing woven fibreglass cloth all over the hull and then Epoxy coating over that!

Wednesday 9 November 2016

The Build Continues

I finally got to work on the boat again - Alleluia!

This type of boat has an outer stem that is separate to the inner stem - the stem being the very front of the boat. Whilst the inner stem is made from Douglas Fir, the outer is from a hardwood: Utile, which is a timber from Western Africa and used as a substitute for mahogany. 

Here is a photo of the outer stem in place - it's the dark wood.


The problem was how to bend such a large piece of hardwood without the wood snapping? Assuming I was strong enough to carry out that task.

The answer was that I built the outer stem from 5 layers of Utile - shown below - rather than one solid piece.


Even then the risk of snapping the pieces as they were bent through almost 90 degs was high. I therefore resorted to the shipwright's old trick of steaming the wood. This in turn raised the problem of how to steam it. Then I had a eureka moment and took the rain drain pipe and end-bend from my workshop and brought it into the 'boathouse'.

Drain pipe from roof that was removed to become a steamer!

 I also took the kettle from the kitchen whilst Pat was distracted.


I put the wood  for steaming into the drain pipe, the other end I inserted into the kettle and switched it on


I wanted the steam, from the boiling water in the kettle, to stay in the pipe for as long as possible and so I tore the sleeve off my shirt and stuffed it into the far end of the pipe.


After 10 minutes or so I took out the steamed Utile and, as quickly as I could, screwed it into place. It worked really well despite being really hot to handle. 
     This process was repeated for the next four pieces and then left overnight to settle into its new shape.

I was quite pleased with myself, camera blur notwithstanding.


Monday 17 October 2016

Back On board(ish)

I have been so busy that I have had little chance to get on with the build. Nevertheless, I have spent countless hours sanding the whole hull down after I had epoxied the hull with filler.

In a week's time I will be able to get back into working on Seagull on a more regular basis.


Tuesday 30 August 2016

Epoxy Resin Filling

I was a bit worried about using Epoxy Resin for the first time, I don't have a good record with 'sticky-stuff'. So I did my usual thing and did a lot of research in preparation.

I came to the conclusion that I would use the West System for two reasons:

 1. Robbins Timber my timber supplier sold it at very competitive prices.
 2. If I stuck to one range of products, rather than mix 'n match, then I shouldn't have compatibility problems.

I soon learnt that you have to mix exact quantities of materials together. I therefore spent money (wisely I discover) on the means of measuring and bought dispensers that insert into tins.


I hold the plastic mixing bowl under the dispenser in tin 105 and push it all the way down: this delivers exactly 5 portions of epoxy resin

I then place the bowl under the dispenser in tin 205 push it all the way down: this deliver exactly 1 portion of hardener.

Using the black plastic paddle I mixed the 5:1 ratio mixture for two minutes.

Next I use the scoop from inside the cylinder-box 403 to add one level scoop of the white powder Microfibres to the mixture in the bowl. I stirred until it took the texture of peanut butter.

This gave a mixture of Filler with which to fill gaps, screw holes etc by the use of the scraper.


You get some idea of the size of the boat here.

Friday 26 August 2016

Powerboats!!

So I took two days out to learn about handling powerboats!!

We stayed at Beggars Reach Hotel, which was very quiet and restful for Pat...


 ... whilst I had two rewarding days at Neyland Yacht Haven... 


...where 'Len', ably assisted by 'Sue,' taught three of us how to operate a 'Rib'!!!!


I had imagined chugging about in something a bit smaller and a lot slower. Although I realised this was an official course of the Royal Yacht Association, I hadn't realised how intensive it was and that there would be an examination at the end of it.

I think they were all surprised that a little old '78 year old' should turn up for such a course ... but not as surprised as I was when we skimmed along the water at 50 miles per hour doing high speed manoeuvres. I soon warmed too it though and had great fun. 

We spent some time in the class room learning about weather, charts, navigation and lots of other nautical things which included knot tying.

Then we began the slow stuff, which included how to leave and come up to the jetty. How to anchor and how to tie up to a buoy.  We learnt how to use the depth-finders and GPS system.

One big test was the 'Man-Overboard' routine. We had a small buoy which was thrown overboard and which we had to rescue in one minute .... or fail! To make it more complicated the buoy was thrown overboard, from behind our back, at a moment's notice to the cry of 'Man Overboard'. To make it more complicated, we were travelling at 45 mph at the time. Without slowing I had to turn the boat in the tightest circle I dared and come up alongside the 'victim' very, very slowly. I was relieved to do it in 40 seconds.

We had lots of other tests and luckily we all got through them!


I'm now qualified to handle a powerboat ... although mine will travel at a more sedate max of 20 mph.

I'm so glad I did the course as I now feel in control of where this project goes next! 

The RYA is the authority for British Coastal waters and Inland Waterways and the certificate I earned  will give me access to so many things, from insurance to berths, which I would not have available to me before.

Tuesday 9 August 2016

As the boat is starting to look like a boat, and launch day becomes a real event rather than a vague dream..

The Seagull  the 15 foot wooden Maine Lobster Boat I'm building
.....Pat thought I should learn how to 'sail' one and so she's signed me up for a course with the Royal Yacht Association for two days of power-boat training.

Lots of interesting places along this coast line to take a boat into for a quiet picnic. Here's a touch of the local area:


Tuesday 2 August 2016

Trying to Avoid Future Problems

It occurs to me that after I finish sanding down the boat, I'll be about to enter a totally new world with its associated problems.

The first area will be, covering the boat with glass cloth and then epoxy coating it. All I can do, and have done, is watch Videos on the subject on line.

The second problem is turning the boat over to the right way up, because, as you know, it's been built upside down until now. Everyone is asking me how I, at 78, will turn the boat over singlehandedly? I give them a knowing wink, but in reality I don't how I will do it ... but I'm confident that I will and look forward to the challenge. As Archimedes said, Give me a lever and I'll Move the World.

The final problem is a little harder to define, so I will take you back to earlier in the build to help me explain.

1.
 I build the hardback and fixed the moulds to it.


2.
I cut each Mould in half and then put it back together using butt-straps: the idea being that it would be easier to remove in halves.


3.
I then put masking tape around the edges to prevent the planks from being accidentally being glued to them. 


Which brings me to the third problem. Over the period of planking I had this reoccurring worry that maybe the masking tape wouldn't do the trick and the planks would be stuck to the moulds. After all, most sources say use plastic sheeting.
   
The news is good, for today I decided to remove the Moulds from Stations 9 and 4 ... just to stop me worrying. As you can imagine, it's quite a struggle to get under the boat, as you can see below:


I began by unscrewing the buttstraps and then unbolting the uprights and side bracing. Sure enough the mould broke into the two halves and after a slight wiggle they came away, leaving the masking tape hanging from the planks..


Here, below, are the two halves of the mould from Station 9


Sunday 31 July 2016

Sand and Dust

I remember the time - I was 16 - when I was a second year shipwright apprentice in the boathouse of Sheerness Dockyard (1955/6).


The time came to sandpaper the boats we had built. There were eight of us and we had split into two teams of four and each team built a boat.

We sandpapered by hand and it seemed to take for ever. There was no thought to masks or goggles, and we rapidly became covered in mahogany dust.

In my present reincarnation I can make sanding-dust at an alarmingly fast pace, but have bought a modern and highly effective respirator - I also wear proper clothing and head gear. 


The sander has to fight its way through the hardened glue before I hit wood and the glue dust is particularly nasty stuff the inhale. Here's a close-up of the glue on the planks:


The lesson to learn is to get off as much glue as you can before it sets, as sanding the glue off is a long arduous task.

Here's a view of Work-in-Progress:


On this picture you can see the two rows of screws at the stem. Previously there was only one row of screws as I simply needed to hold the plank in place before the glue set/cured. Before sanding I removed the screws and properly countersunk the holes. Next I drilled and countersunk (countersank?) the second row and then screwed in the two rows of wood-screws. 

Similarly, at the stern, I carried out an identical operation to give two rows of screws:


As there are 150 planks on Seagull, and each plank has 4 screws (2 forward and 2 aft) you can see that means drilling and countersinking 600 screw-holes and then screwing 600 screws into them. I shall then need to fill the screw holes with filler and sand them down to conceal the screws

Thursday 21 July 2016

PLANKING FINISHED

Finally got the planking finished. 


Next comes the external finishing - I've sent off to Robbins Timbers for a quote. Here's my list  of finishing requirements:

RESINS - INCLUDING HARDENERS
 ‘B’ Pack 6kg @ £115.65                                                3 off                                                       £346.9                                                  
METERING DISPENSERS
 ‘B’ Pump Set @ £12.85                                                 1 off                                                    

GLASS CLOTH
Satin Weave 280 10m pack @ £77.16                       3 off                                                      
Satin Weave 280 5m pack   @ £39.46                       1 off                                                     

GLASS TAPE (10m)
50mm Glass Tape £7.70                                                 1off                                                            £7.70

FILLERS
Microlight 200g @ £20.44                                            2 off                                                     
Filleting Blend 700g £18.86                                           1off                                                         
Microfibres 750g £13.16                                                1 off                                                      £13.16                                                                                 
APPLICATION TOOLS
3” Roller Frame each £2.71                                           1 off                                                      
3” Roller Cover pair                                                         1 off                                                  
7” Roller Frame each £3.23                                           1 off                                                    
7” Roller Cover per 6                                                       1 off                                                   
Roller Pan each £2.06                                                     1 off                                                      
Glue Brush per 5 £4.06                                                   1 off                                                     
Mixing Sticks (Reusable) per 25 £6.70                      1 off                                                     
Mixing Pots 800 ml £0.96                                              10 off                                                    
Syringe Pack (1 10ml, 1 60ml) £3.98                         1 off                                                    
Plastic Squeegee per 2 £3.54                                       1 off                                                     
Plastic Notched Spreaders per 2 £3.84 50mm      1 off                                                      
Laminating Brush each £2.48                                       1 off                                                     
Nitrile Gloves per 5 pairs £3.24                                   1 off                                                    

CLEANING
Resin Removing Cream 1kg £11.10                           1 off                                                     
Cleaning Solvent 1ltr £12.48                                        1 off                                                    
Barrier Cream 250ml £5.45                                          1 off                                                      
Cleaning Solution 1ltr £7.54                                         1 off