Thursday 30 January 2020

The Anchor system part 4 continued

Continuing from the last post. The next step was to add the stainless steel self-launching anchor roller.

The anchor-roller is sealed and screwed to the sprit and then the warp (rope part) is threaded through it and into hawser pipe and hence into the chain locker.


The problem came when I found that the size of the rope to chain splice and shackle are too large to go through the pipe.


It's not the end of the world though. I shall replace the pipe with a larger version and use the existing one aft as access for mooring lines. In other words, keeping the mooring line in a locker, similar to the chain locker, with the rope available for mooring via the hawser pipe. To be positive, this a safer way to store the rope than as a coil on deck.

Anchor System Part 4

As usual, it's two paces forward and one back. The problems arise both from buying online using multiple suppliers, and the fact that the anchor system is not part of the original boat design but my own customisation. 

The upside is that you can order online from your workshop, to a supplier 100s of miles away, and you get the goods the next day. The downside can be those dimensions you couldn't check online which turn out to be the ones that cause problems. I'll start from the beginning so you can see how things don't go to plan. Learn from my mistakes.

From my last post (Part 3) you will see I built a chain locker in the forepeak. I was worried it would be too small, but rest assured it's fine - odd shaped volumes can be deceiving - there's plenty of space.

My first move was to begin to build a Pulpit! I began by preparing a piece of mahogany with a bracket which will be the Sprit (as in bowsprit).


Using the hawser pipe as a template, I marked and then cut a hole through the sprit.


Positioning the sprit carefully, I marked the deck below with a pencil before cutting a hole through the deck.   Cutting holes in decks and hulls really makes me twitch: spending all one's time keeping water out is the antithesis of piercing the boat.


This hole gives access to the chain locker which you can just see through the hole, via the pipe you can see below.


I cleaned them up and varnished the sprit and its bracket: two coats sanded between coats. Once the varnish was dry I glued the sprit to the deck. Then mixed up epoxy resin with filleting powder which I poured into a icing bag and piped along the edges where the sprit meets the deck.


Using the same epoxy filleting mix to fix the mahogany sprit bracket in position. This bracket offers a certain amount of strength but is primarily my idea of making the sprit look part of the boat, rather than a piece of wood glued on.. The photograph was taken before I cleaned up the epoxy overrun.


The automatic bow anchor launching roller was the next piece to be added.


I'll continue the rest of this post separately, as Google has stopped me adding anymore photographs 


Thursday 23 January 2020

Anchor System Part 3

I was looking forward to a good day on the boat today but we had unexpected visitors. At least I got the chain locker finished.


I sealed the hatch in the same way I did for the ports, using Butyl rubber mastic sealant tape.


Wednesday 22 January 2020

Anchor System Part 2


Finishing off yesterday's post: the plywood annulus is now firmly glued in place and I have given it all a good coat of varnish. When the varnish is dry, tomorrow, I will finish fitting the chain locker hatch.


Meanwhile, I have taken delivery of the anchor and the rode. The rode is the name given to the rope (the Warp) and chain combined. It was an extremely heavy parcel.


Also delivered was the Chain Pipe. This devise fits into the fo'c'sle (as we call the forecastle deck). This gives access to the chain-locker for the rode.


Two Views of the Chain Pipe

Finally, I received the towing-eye - for launching and retrieving the boat on and off the trailer.


I also made a mahogany bracket, the purpose of which will be seen later


Tuesday 21 January 2020

Anchor Systems.

To remind you, I write as if the reader is a novice; if you're not, then you may be amused by my take on all things to do with anchors.

My first instinct was to buy a cheap anchor and tie it to the boat with a long piece of rope. When the time came, just throw the anchor over the side ... job done! My conscience got in the way and I did some research; after coming all this way why not do anchoring professionally. I discovered a whole new art form.

I learnt that there are lots of types and sizes of anchor so which one would suit me best. The rule-of-thumb for getting the right weight of anchor is:

One pound for each foot of the boat's length, or, one Kg for each metre.

So I needed a 15 pound (7.5 kg) anchor.  There are many types of anchor and the one best suited for me was a Bruce. These came out of the need to hold oil-rigs in place and have been developed for the likes of me.
You can get really expensive shiny Stainless Steel ones but I settled for a galvanised steel one. Mine comes with 5 metres of chain and 50 meters of rope.

Rather than go through the theory of the system I intend to simply show what I do and explain at each stage. That way we slowly build up the system.

STAGE 1  The Chain Locker
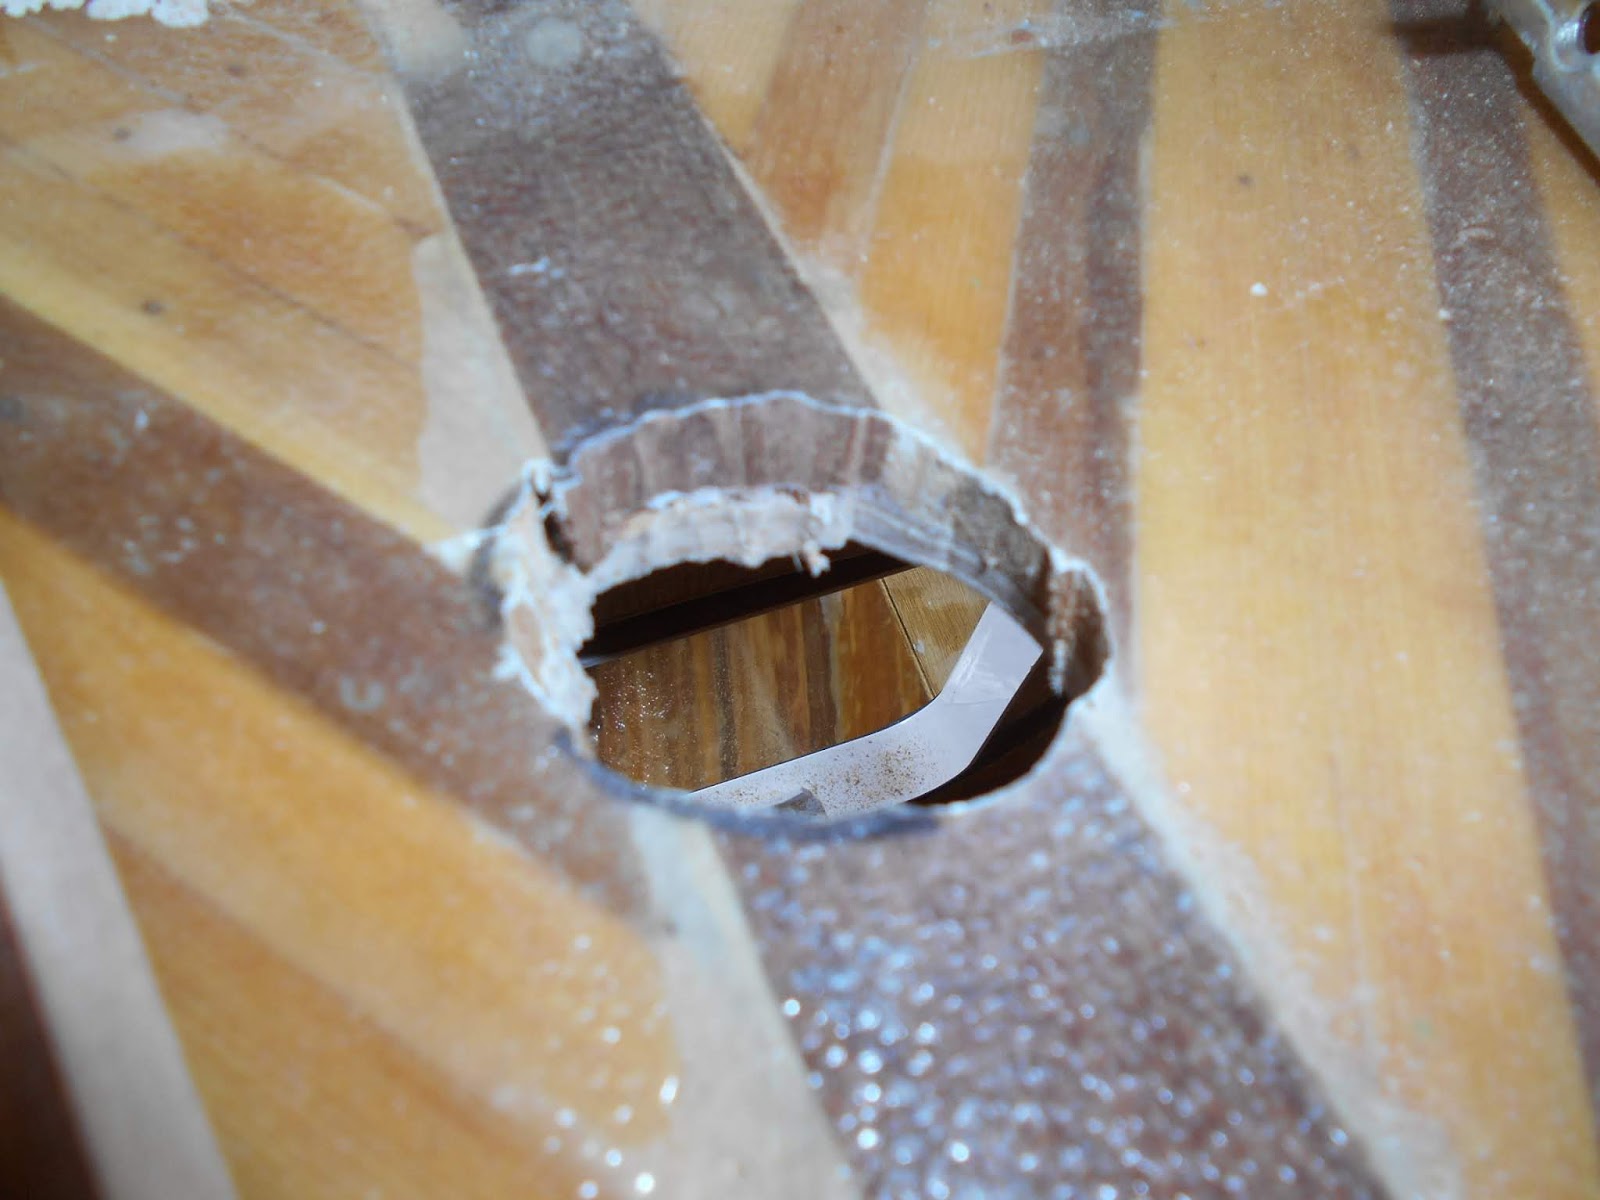
With all that chain and rope I needed a chain locker. I went right forward into the wheel house and cut a hole in the forward bulkhead.


Using folded paper to get the shape I made a plywood floor inside the locker; fixing it in place with epoxy fillets


I bought a hatch door for the locker for £25 (US$ 33) this saved the time needed to make one and also matched the two ports already in that location


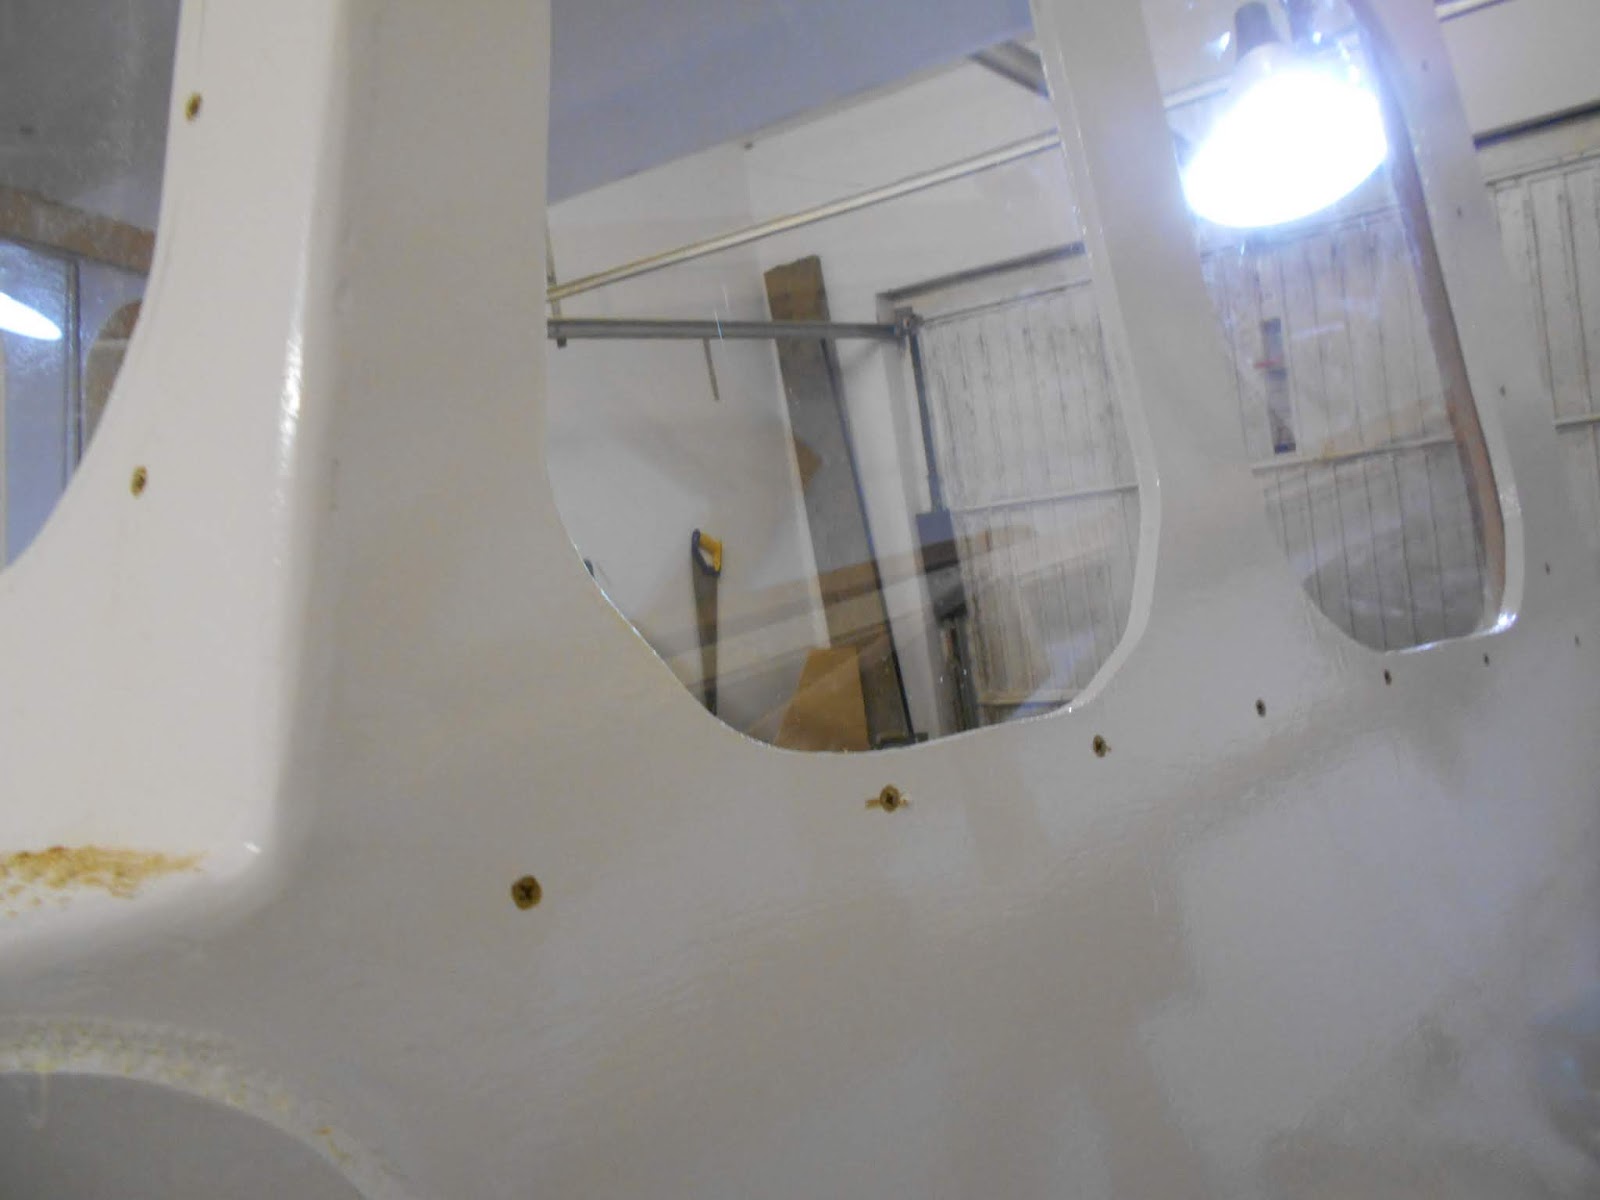
The hole I had was too large for the hatch: I had to make it large to get the floor into the locker. The result was when the door was offered up there were gaps in places


To overcome this I cut out an annulus from 3/8" plywood


The annulus was placed around the spigot of the hatch and offered-up


It all fitted very nicely. The hatch was removed and the annulus glued with epoxy resin and clamped in place to cure. That is the current situation.

Note Rope Inside the Locker

Tomorrow I fit the hatch in place and move onto the next stage

Thursday 2 January 2020

Internal Fitting of Wheelhouse Windows

 I have to ensure that I can replace the see-through polycarbonate windows if they are damaged. For this to happen I have to attach to inner glazing battens with wood-screws, inserted for outside the window.

Glazing Battens Inside Wheelhouse


Screws attaching Internal Glazing Battens
To summarise,
1. the polycarbonate sheets are left rectangular and placed inside the cut our ports.
2. the battens have a rabbit cut in them (1/4" x 3/8") that act as grooves into which the 'window-pane' slides.
3. The screws are inserted from the outside to clamp the battens and polycarbonate in place.


All these screws are countersunk and will need to be concealed by filling, sanded and painted them. 

To replace damaged windows in the future I will need to remove these screws, therefore, I attached photos here of all the screws as a reference to their location.