Module 4 - Install Bilge Pump.
The bilge pump should have been a much easier job than it turned out to be, thanks to a misprint in the instructions.
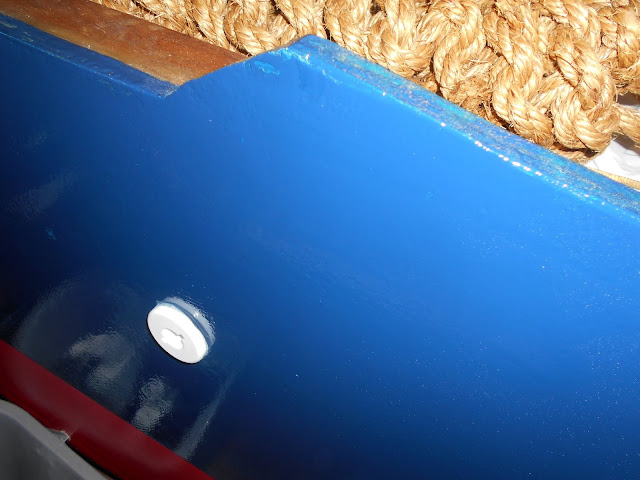
I located the pump as far aft as I could and close to the centreline, this being the lowest point in the boat and potentially the deepest point for water coming into the bilges. I glued a piece of plywood to the planks then screwed the base of the pump into the plywood.
 |
| Orange topped Bilge Pump |
I had wanted the pump to be automatic, to allow increase in water levels to set it off. That way it would empty the bilges even if the boat was unmanned, however, it also had the facility to give a manual switch on/off. As I had an appropriate switch I connected the pump to it.
 |
Auto/Manual/off switch for bilge pump, centre
|
It was a heck of a job running the cables the length of the boat to the bilge pump control switch on the control panel. Having made the connections, I switched on the power ... it didn't work! For hours I searched for bad connections but finally gave up.
Perhaps the pump was broken? But no, it seemed the switch I had was part to blame as it didn't work in manual mode.
Let me explain how I found the real culprit:
1. The pump had 3 wires, a black (negative), a brown and a brown with white stripe.
2. The instructions tell you to connect the brown white and black to give the automatic operation...this is a misprint, it should say manual operation.
3. Seven lines below it says the black and brown to give automatic. This is why the original set up didn't work.
I decided to simplify everything. I stripped out the cables and ran shorter lengths of cable direct to the battery. I took the wires through a black conduit to protect them and ran them from the pump up into the battery locker
Whilst the black cable remained black, I extended the brown with red to show 'live'. (all cables on Seagull are Black(-) and Red (+) )
I put in an a 5 amp inline fuse, to protect the pump, then connected the two wires (the thinner ones) to the battery terminals.
I pressed the test switch on the pump and it worked fine! Job Done!
Finally, I drilled a hole in the transom and inserted a gland that had come with the bilge pump. The gland operated like a nut and bolt, with the bolt head being on the outside and the nut inside. I tightened the nut after making sure I had adequate sealant on the faying surfaces.
Inside, I connected the pump drain outlet to the gland in the transom and secured it with stainless steel jubilee clips


No comments:
Post a Comment