One good idea suggested was that we slide the boat out onto the drive on planks, roll it over, and slide it back in. This would work except for the fact that my drive is on a steep slope - visions of toboggans comes to mind.

I've watched lots of videos on turning the boat over and they all call for lots of lifting power - usually men, jacks and ropes - and/or lots of space. I have none of those facilities and so I think I have come up with my own way, which I expect has been used many times over the years.
It occurred to me that if I could suspend the boat by two ropes: one attached the outside of the front of the boat - about mid-way down the stem - and the other mid-way down the outside of the transom (back)... then the boat could be rotated within its own length beam (width).
It would be naive of me to believe the boat would turn nice and gently. Once I got it towards 90 deg of turning (halfway) it would probably need raising, as the side would hit the floor. Therefore it might be better if the ropes holding the the boat were block and tackles. To my amazement I could buy two sets off Amazon UK for £25 (US$36) total; they are light weight each capable of lifting 184 kgs, that's 368 kgs. between them ... or approx 800 pounds. The design says that the weight of the boat should be about 400 pounds, which gives me a lot of leeway.
The next problem would be that the boat would run away with me once I passed the 90 deg point, and could swing about wildly and get damaged. Therefore I intend to add a couple of ropes with which I could control the rate of descent (I'm back with flying aeroplanes again).
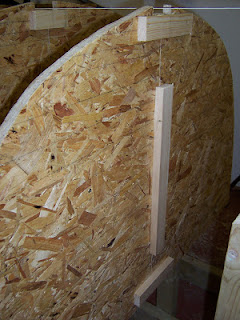
Stage Three is all about building a structure from which the blocks & tackles and restraining ropes could could be attached. There is no roof structure I could use, so I began by fitting one upright at the front, braced against lateral movement by 2 x 1 inch battens (Picture 1)
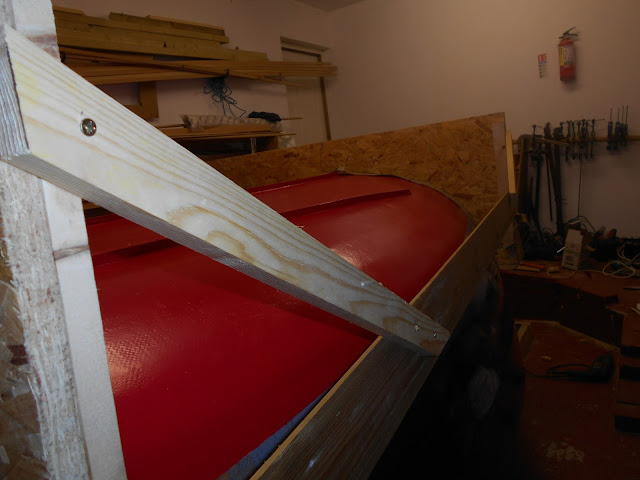
The upright is bolted to a 4" x 2" spar that runs the length of the boat to the aft lifting arrangement at Picture 2.
From picture 2 (ignore all the metal parts which are the garage door system) you can see there are two wooden uprights (scaffold planks) which act as lifting uprights. These are bolted to the transverse 4" x 2"beam. The longitudinal spar from the forward upright is bolted, above the centre (center) line of the boat, to the transverse beam.
That's as far as I've got ... but watch this space.
It would be naive of me to believe the boat would turn nice and gently. Once I got it towards 90 deg of turning (halfway) it would probably need raising, as the side would hit the floor. Therefore it might be better if the ropes holding the the boat were block and tackles. To my amazement I could buy two sets off Amazon UK for £25 (US$36) total; they are light weight each capable of lifting 184 kgs, that's 368 kgs. between them ... or approx 800 pounds. The design says that the weight of the boat should be about 400 pounds, which gives me a lot of leeway.
The next problem would be that the boat would run away with me once I passed the 90 deg point, and could swing about wildly and get damaged. Therefore I intend to add a couple of ropes with which I could control the rate of descent (I'm back with flying aeroplanes again).
Stage Three is all about building a structure from which the blocks & tackles and restraining ropes could could be attached. There is no roof structure I could use, so I began by fitting one upright at the front, braced against lateral movement by 2 x 1 inch battens (Picture 1)
 |
| PICTURE 1 - showing the forward lifting upright and £10 block and tackle |
The upright is bolted to a 4" x 2" spar that runs the length of the boat to the aft lifting arrangement at Picture 2.
 |
| PICTURE 2 - The longitudinal spar connected to the aft lifting arrangement |
That's as far as I've got ... but watch this space.


