Module 5 - Installing the Speedometer.
The speedometer was a very cheap installation, costing about £25. Remarkable that you can get the electronic speedo plus associated GPS unit so cheaply.

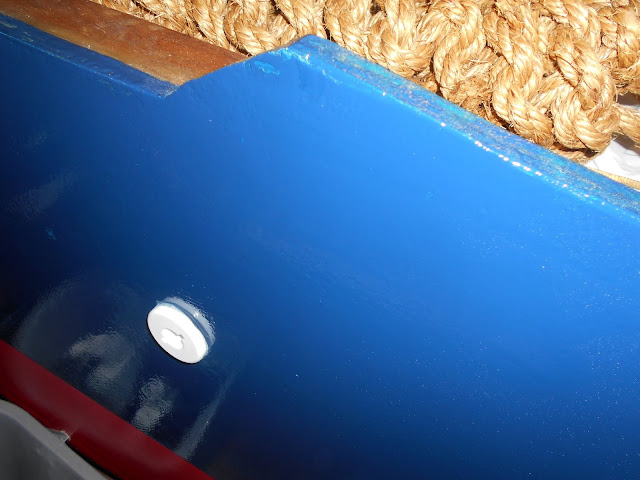
First, a hole was cut to allow the speedo to fit into the the control panel.
The black wire (negative) from the back of the speedo was run to the negative busbar.

The red positive wire was connected to the back of the second switch down on the left switch panel.


The left switch panel has six fuses on the left, six switches in the middle that illuminate when switched on and six labels, on the right, describing the equipment controlled by the switch.
As we saw in the first two modules, two cables (one black and one red) arrive at the rear control panel from the battery.
1. The black is connected to the negative busbar and the red to the positive busbar.
2. A positive wire was then run from the positive busbar to the left switch panel.
3. A negative wire was run from the left switch panel to the negative busbar.Effectively, this meant power was now available at all six switches.
We now connect the second switch down, on the left switch panel, to the positive cable (red) on the speedo.
Next, connect the negative (black) cable on the speedo to the negative busbar.
When we move the second switch down, on the left switch panel, to the 'on' position, electricity flows through the 5 amp fuse and then into the speedo, it flows out of the speedo back to the negative busbar, this completes the circuit and the speedo is 'live'. NB the speedo called for a 5 amp fuse and so I replaced the factory installed 15 amp fuse that came with the left switch panel.
Having got electricity to the speedo it only remained to plug the data cable supplied, into the back of the speedo. At the other end of the data cable is a GPS unit that keeps the speedo informed of the distance moved by the boat in a specific time (distance/time = velocity) which translates to the speed shown on the speedo.
I had previously mounted the GPS unit on the top centre of the wheelhouse and fed the data cable to the control panel using the same route as the navigation lights wires
 |
| GPS Unit for Speedometer |
The final check came by connecting the battery and selecting the second switch down, on the left switch panel, to the 'on' position.
1. The second switch glowed red.
2. The face of the speedo illuminated
3 The odometer on the speedo appeared.
4. The numbers on the odometer spun, making a whirling sound
5. The odometer stopped and displayed a number. This means the GPS is in range and working. Otherwise it would have displayed an error message.

The check went well and the installation of the speedometer was complete apart from the scratches to the woodwork around the speedo which will need filling and painting.