Just to get things clear, I have never done electrics before, so, if you have a squeamish disposition... look away now.
I'm treating this as a water system: the water goes out of the boiler (battery) hot, does its business, and comes back to the boiler cold. If it doesn't come back to complete its circuit it won't work.
This is going to be done in modules so I can keep a check on things more easily
Module 1. Getting Power to the Wheel House.

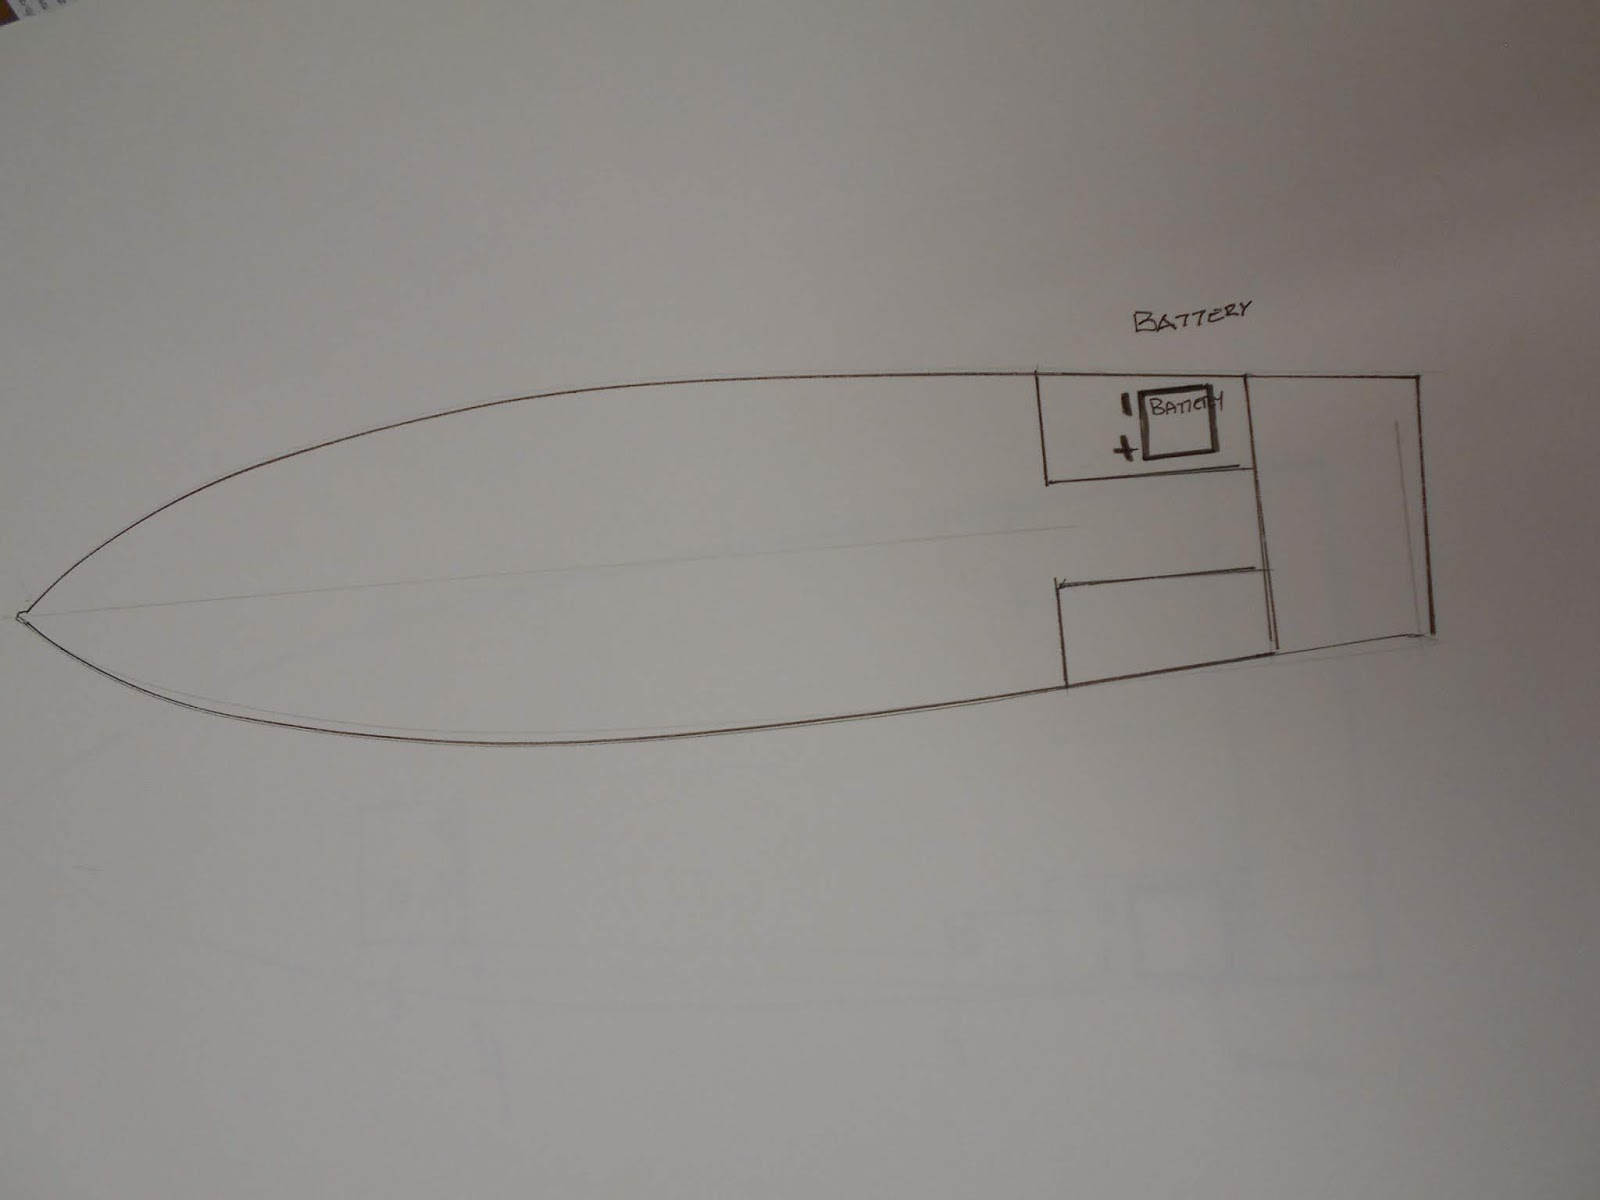
Here we will have to safely deliver power from the battery in the aft locker:

to the wheel house control console.
I'm treating this as a water system: the water goes out of the boiler (battery) hot, does its business, and comes back to the boiler cold. If it doesn't come back to complete its circuit it won't work.
This is going to be done in modules so I can keep a check on things more easily
Module 1. Getting Power to the Wheel House.

Here we will have to safely deliver power from the battery in the aft locker:

to the wheel house control console.

You may wonder why the battery isn't positioned at the console instead of at the stern. The reason is the starter battery needs to be near the outboard motor and both batteries are coupled and charged from the engine when it is running.
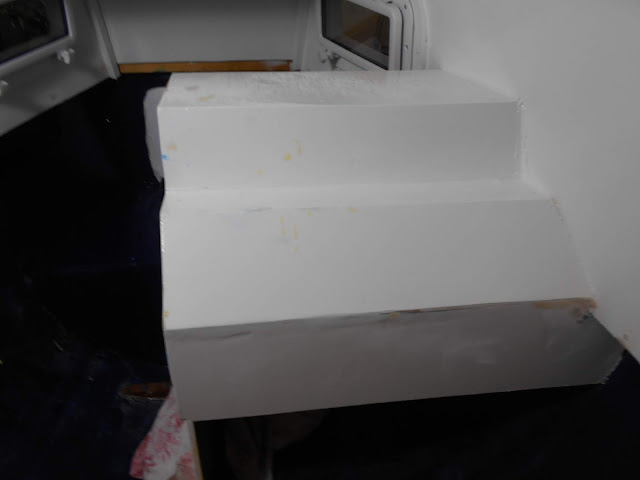
I have seen videos of people doing all the fancy electrical connections - that will be in the console- in uncomfortable positions, on their knees, lying down, and almost upside-down. With this and comfort in mind I made and inserted the panel, on which the electric magic will fit, to suit me . To start I will sit on the seat in the forecastle looking aft.

Selecting the cable I need
I'll try to keep this simple because it's the only way I can understand it. I need to know three things:
i/ The voltage in the system = 12 Volt (it's a 12v battery)
ii/ The total Amps (see previous post for list of devices total amps)
= 10 amp x 2 = 20 amp
(It's my idea is to double the total amps - so I can add more devices later)
iii/ The length of cable from battery to console and return = 40 feet (there is a 3% voltage drop dictated by length of cable run)
With these three values I can use Table 1 (below) to determine the American Standard Gauge (ASG) cable I need. First, I go along the top of the table until I reach 20 (amps) then down the left column until I reach 40' row. Where they intersect is the wire gauge needed, 6 AWG, however, I've gone for a 4 AWG (1 size up) ... because I'd already ordered it after watching a Youtube video!!
Materials needed to complete Module 1:
1 x red coloured cable (positive) (5.19 mm dia)
1 x black coloured (negative)

1 x double terminal
 1 x inline waterproof 20 amp fuse holder
1 x inline waterproof 10 amp fuse holder
I have seen videos of people doing all the fancy electrical connections - that will be in the console- in uncomfortable positions, on their knees, lying down, and almost upside-down. With this and comfort in mind I made and inserted the panel, on which the electric magic will fit, to suit me . To start I will sit on the seat in the forecastle looking aft.

In front of me, like a music stand, will be the panel I have just made and glued in place.


Which, for those of you still disorientated, the new panel is in the back of this console.

Selecting the cable I need
I'll try to keep this simple because it's the only way I can understand it. I need to know three things:
i/ The voltage in the system = 12 Volt (it's a 12v battery)
ii/ The total Amps (see previous post for list of devices total amps)
= 10 amp x 2 = 20 amp
(It's my idea is to double the total amps - so I can add more devices later)
iii/ The length of cable from battery to console and return = 40 feet (there is a 3% voltage drop dictated by length of cable run)
With these three values I can use Table 1 (below) to determine the American Standard Gauge (ASG) cable I need. First, I go along the top of the table until I reach 20 (amps) then down the left column until I reach 40' row. Where they intersect is the wire gauge needed, 6 AWG, however, I've gone for a 4 AWG (1 size up) ... because I'd already ordered it after watching a Youtube video!!
Table 1
| Table 1: Wire Gauge for 3% Voltage Drop at 12 Volts | ||||||||||||||
| CURRENT (AMPS)* | ||||||||||||||
L
E
N
G
T
H
| 5 | 10 | 15 | 20 | 25 | 30 | 40 | 50 | 60 | 70 | 80 | 90 | 100 | |
| 10' | 18 | 14 | 12 | 12 | 10 | 10 | 8 | 8 | 6 | 6 | 6 | 4 | 4 | |
| 15' | 16 | 12 | 10 | 10 | 8 | 8 | 6 | 6 | 4 | 4 | 4 | 2 | 2 | |
| 20' | 14 | 12 | 10 | 8 | 8 | 6 | 6 | 4 | 4 | 4 | 2 | 2 | 2 | |
| 25' | 14 | 10 | 8 | 8 | 6 | 6 | 4 | 4 | 2 | 2 | 2 | 1 | 1 | |
| 30' | 12 | 10 | 8 | 6 | 6 | 4 | 4 | 2 | 2 | 2 | 1 | 1/0 | 1/0 | |
| 40' | 12 | 8 | 6 | 6 | 4 | 4 | 2 | 2 | 1 | 1/0 | 1/0 | 2/0 | 2/0 | |
| 50' | 10 | 8 | 6 | 4 | 4 | 2 | 2 | 1 | 1/0 | 1/0 | 2/0 | 3/0 | 3/0 | |
| 60' | 10 | 6 | 6 | 4 | 2 | 2 | 1 | 1/0 | 2/0 | 2/0 | 3/0 | 3/0 | 4/ | |
* Current (amps) determined by adding the total amps on a circuit.
To make it just a bit more complex, we don't use AWG in the UK so at Table 2 is a conversion chart from AWG to UK standards.
Table 2
American Wire Gauge
(#AWG) |
Diameter
(inches) |
Diameter
(mm) |
Cross Sectional Area
(mm2) |
0000 (4/0)
|
0.460
|
11.7
|
107
|
000 (3/0)
|
0.410
|
10.4
|
85.0
|
00 (2/0)
|
0.365
|
9.27
|
67.4
|
0 (1/0)
|
0.325
|
8.25
|
53.5
|
1
|
0.289
|
7.35
|
42.4
|
2
|
0.258
|
6.54
|
33.6
|
3
|
0.229
|
5.83
|
26.7
|
4
|
0.204
|
5.19
|
21.1
|
5
|
0.182
|
4.62
|
16.8
|
6
|
0.162
|
4.11
|
13.3
|
7
|
0.144
|
3.67
|
10.6
|
8
|
0.129
|
3.26
|
8.36
|
9
|
0.114
|
2.91
|
6.63
|
10
|
0.102
|
2.59
|
5.26
|
11
|
0.0907
|
2.30
|
4.17
|
12
|
0.0808
|
2.05
|
3.31
|
13
|
0.0720
|
1.83
|
2.63
|
14
|
0.0641
|
1.63
|
2.08
|
15
|
0.0571
|
1.45
|
1.65
|
16
|
0.0508
|
1.29
|
1.31
|
Materials needed to complete Module 1:
1 x red coloured cable (positive) (5.19 mm dia)
1 x black coloured (negative)
1 x double terminal
1 x inline waterproof 10 amp fuse holder


That's enough for now