Friday, 7 February 2020

Mooring Warps (ropes)

A few posts ago showed how I had bought the wrong sized hawse pipe, it being too small to take a shackle and splice on the anchor. At the time I said I would use the the small pipe for mooring warps.


Mooring Warp Lockers

When I built the aft lockers I did so to the original design which had left a small volume of the lockers unusable.


Each locker has three bulkheads, the one nearest the camera, a rear locker bulkhead and then - just behind it - the main transverse bulkhead that goes right across the boat. The blurry picture below shows a close-up of the rear bullheads on the starboard locker.


When the top went on the locker the space between the bulkheads became sealed in. I thought that if I accessed this lost volume it would make an ideal locker for a mooring warp.


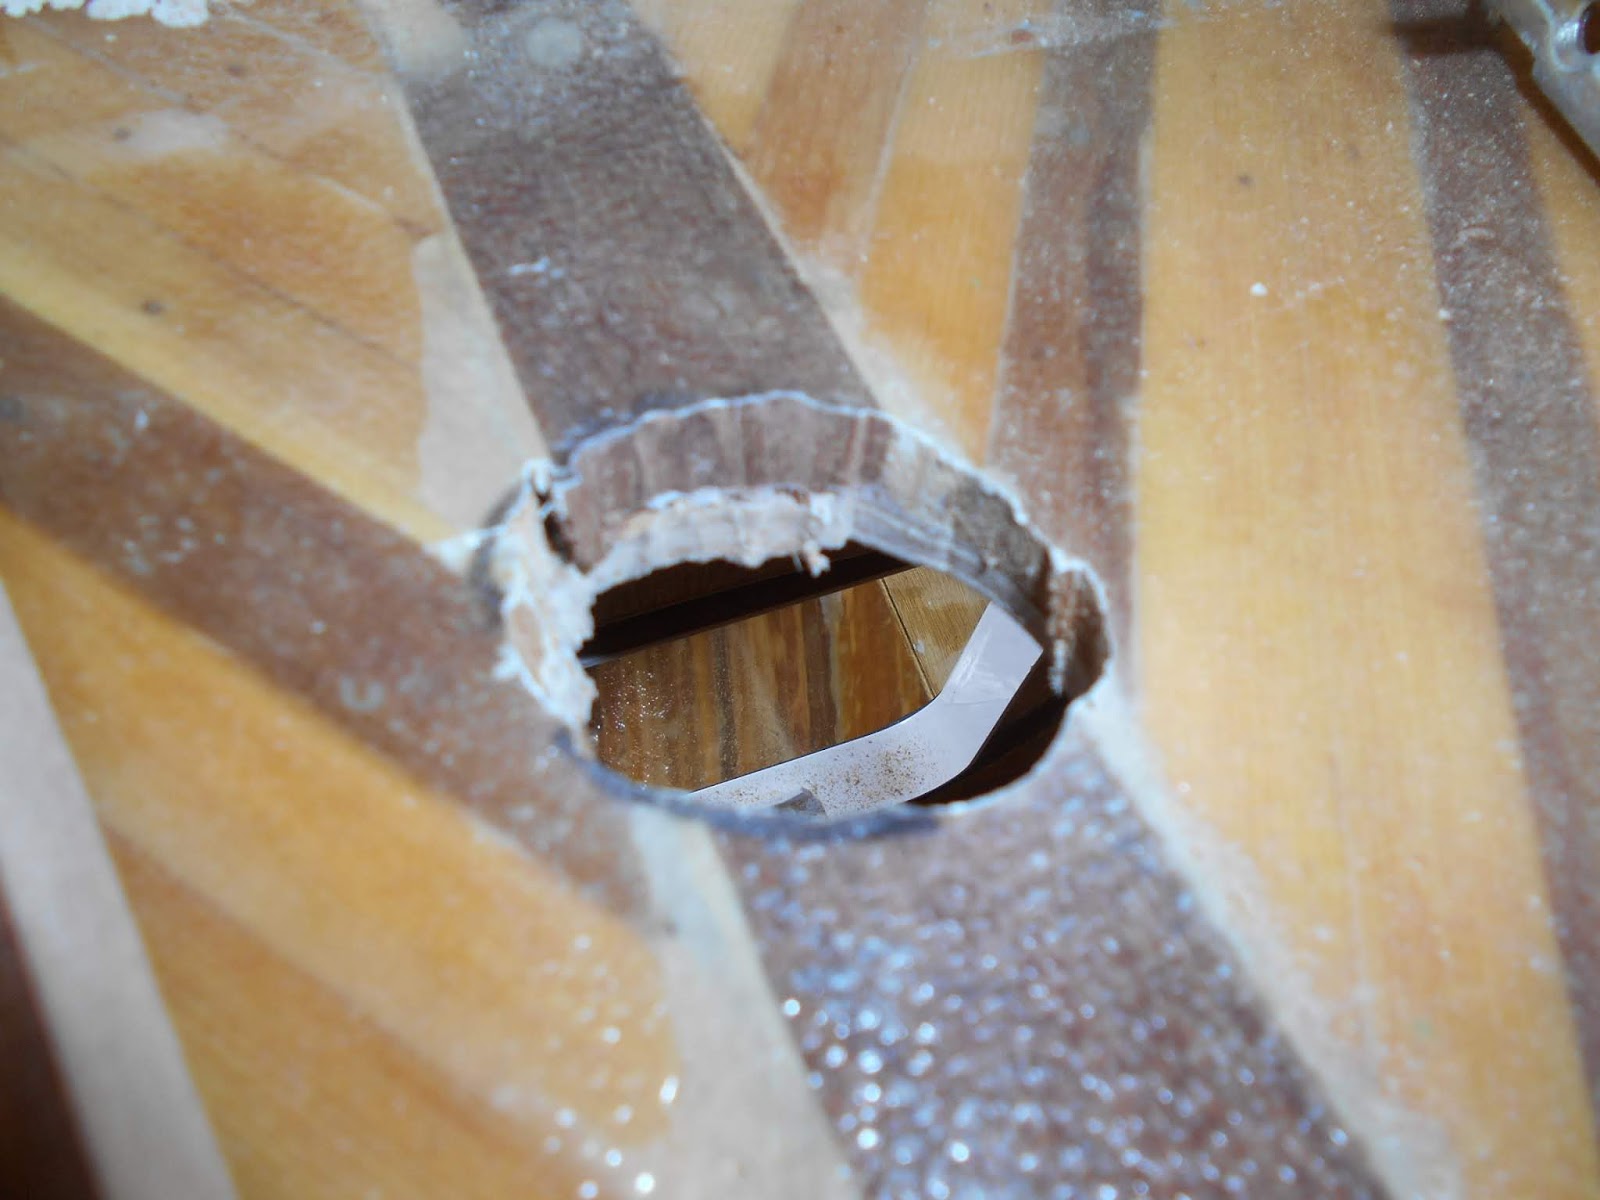
First a hole was cut out in the bulkhead. Then a hole in the deck .


Next the warp was fed into the locker from the top, and the end pulled through the bulkhead for securing to an anchor point.


Finally, the hawse pipe was fitted and the warp fed through it.

This now means that instead of 12 metre coils of rope waiting for someone to fall over them, the mooring warp lives in the locker - previously a lost volume.

Thursday, 6 February 2020

Planning the Electrics/Electronics - Domestic System Part 1

Soon it will be time to install the electrics. Let’s start with the various application types of batteries. There are two types:     


  Starting batteries are designed to provide a big jolt of electrical power (or amperes) for a short period of time, then be quickly recharged. 

  Deep-cycle batteries (or House/Domestic/Leisure electrics battery) are built to supply a limited number of amps over a longer time and then be recharged more slowly. 

I will use AGM (absorbed glass mat) Batteries, explained below. 


The Domestic Electrics/Electronics
 At this stage I will ignore the Starting battery side until I have the Outboard Motor: the motor I will choose specifies the exact battery it needs.

   I will begin with the 'domestic/leisure' side of the equation: that is the battery that powers all the devices like lights, bilge pump, etc. Therefore, I will need to list the devices I mean to use and the power they will draw in Amps.

Most devices have the Amperage printed on them, if not you can use the table I add at the end of this post.

.
Calculating Ampere Hours Required (Ah)

         Device                         Amps          

1.   Bilge Pump                      3
2.   Dragonfly-5                     0.8
3.   Cockpit Light                   0.1
4.   Nav Lights                       3.7  
5.   2 Windscreen Wipers       2.0
6.   VHF  Radio                      1.2
                                       ________
Total Amps                           10.8  

Although it is unlikely that all the devices will be operating at the same time, especially continuously for 10 hours, we must cater for the maximum use for 10 hours - which we calculate thus:

                  10 x 10.8 = 108 Amp Hours (Ah)

So we need to find a (domestic/Leisure) battery capable of supplying at least, say, 110 Ah.


Battery Choice


I have selected a battery, Cost £160 (US$210), it's the:


12V 120AH LEOCH ADVENTURER AGM LEISURE BATTERY (LAGM120)

 Which satisfies the Ah I need.

It is a Absorbed Glass Mat (AGM) battery which is  dry-cell, with the battery acid being encapsulated in fibreglass sheets. In comparison to flooded batteries, AGMs offer increased levels of reliability and versatility – with no free acid, they can be mounted in any orientation and are better able to handle vibration.


Battery Location on Boat

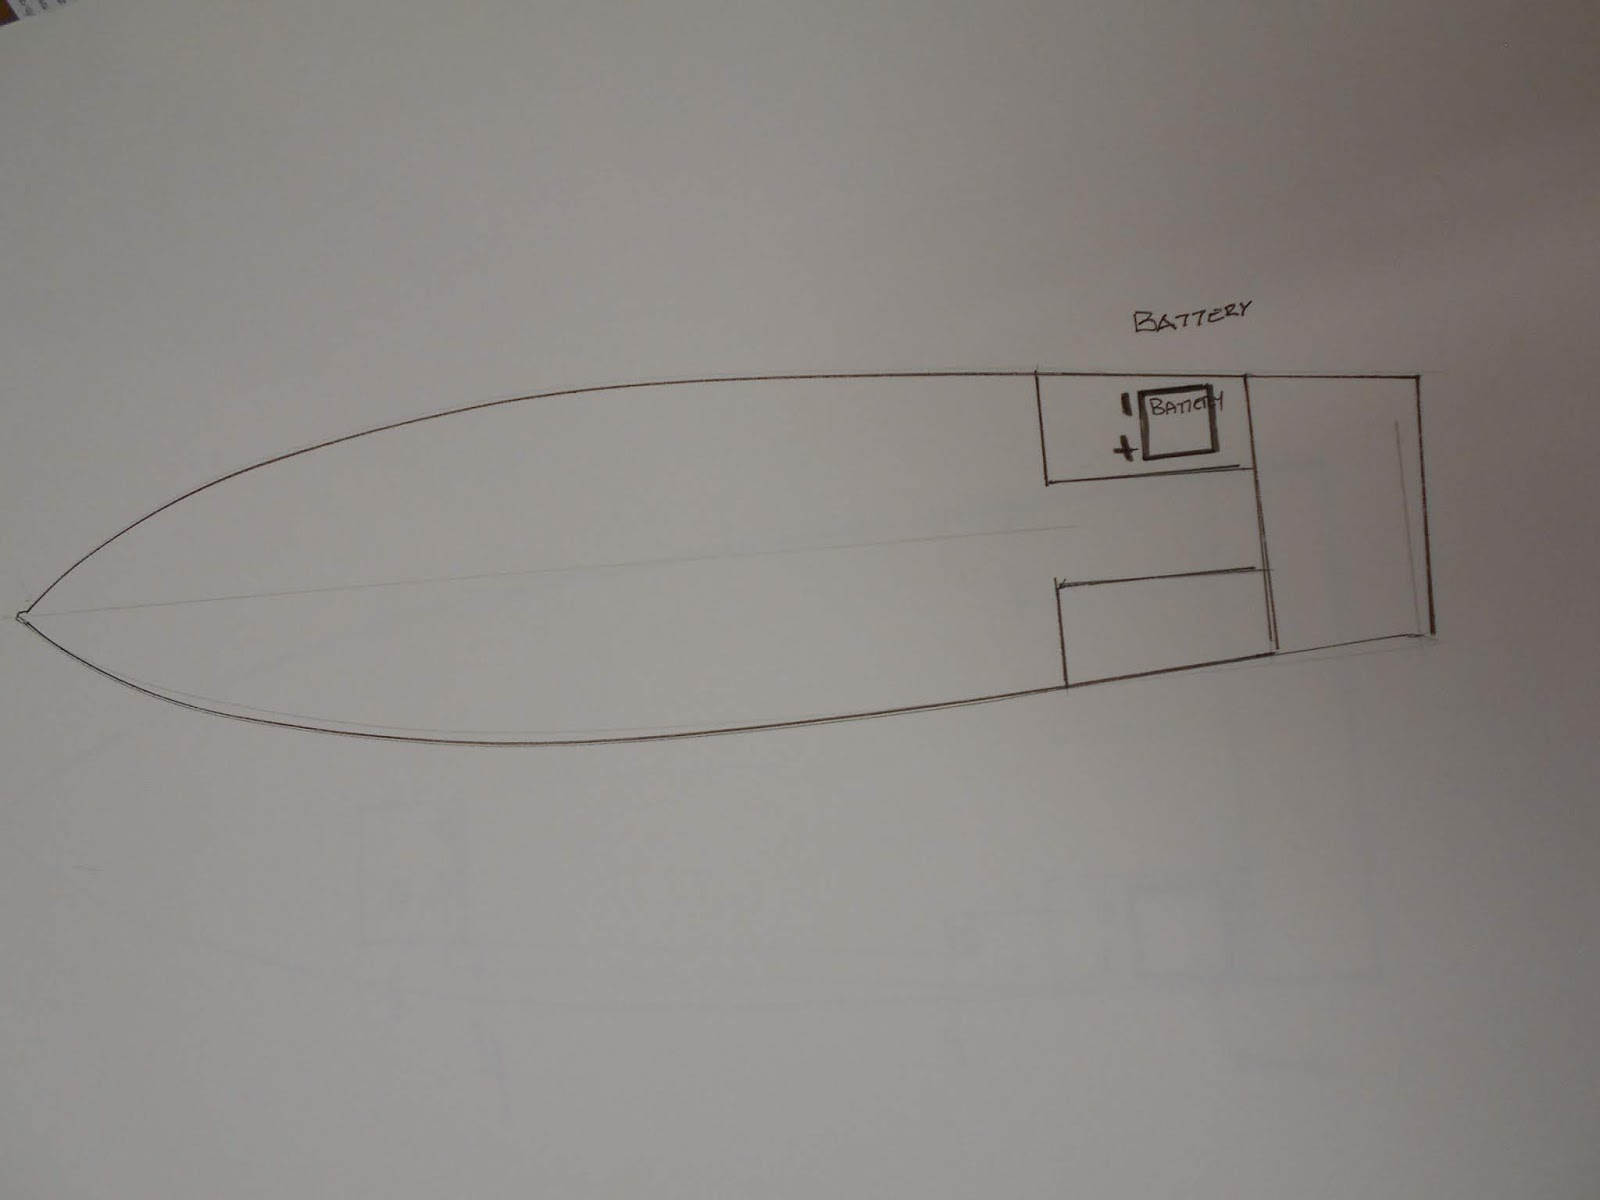
The battery will be stowed in the aft starboard locker, the one nearest us in the picture below. Retaining straps have already purchased and will be shown during fitting.


This battery will need  special charging equipment.

Charging  the Battery -Ashore:

Costing £65 (US$85), I selected the charger shown as an accessory to the above battery.

12V 10A 7 STAGE CONNECT & FORGET AUTOMATIC BATTERY CHARGER WITH UK PLUG


Sunday, 2 February 2020

The Anchor System Part 5

You will see from earlier posts on here that the hawser pipe I'd used was too small, I therefore had to buy a larger one. Being polished stainless steel and a better quality meant it cost a lot more, that's life.

Using the new hawser pipe as a template I marked out the enlarged hole I would need to cut. I then drilled a series of small holes around the proposed hole shape. This would make it easier for the jigsaw as the thickness of the sprit, deck-planking and deck are over 2 inches.


Using the jig saw I cut out the hole.


There was a bit of fitting using a rasp until the hawser pipe fitted snugly. The pipe was turned upside down for me to apply sealing strip. The pipe was reinserted and screwed down tight


The warp was then inserted into the pipe and fed through to the chain locker.


When I got to the chain shackle and warp eye I felt a relief that they went through the pipe easily - which had been the problem earlier


I was pleased to see the offending parts lying in the chain locker.


Finally, the chain was all fed into the locker and the anchor fitting snugly into the self-launch bracket on the pulpit.


I'm really pleased to see another system in place and completed. The anchor will live in this location although I will add a few shackles to hold it in place whilst at sea First Time I've Used That Phrase so it's getting closer!!

Saturday, 1 February 2020

Bits & Pieces

1. SPLICING - I taught myself to splice today simply from watching a video on Youtube. I'm the sort of person who does better from distant learning, because I can keep going over any little part that I don't fully understand. 
    I have four 12 metre ropes that I want to splice an eye into - so I have!


2 TOWING EYE
I need a towing eye on the stem of the boat for launching and retrieving the boat from/to the trailer. Ideally we need a 'U'-bolt as it is much stronger than an Eye-bolt.


However, I can't get a 'U'-bolt long enough to go right through the stem. A stainless steel eyebolt with an 8 inch (200 mm) shank was purchased. To accomodate the bolt meant drilling a hole right through the stem into the chain locker.


ANCHOR SYSTEM   The replacement hawser pipe has arrived and I will get back on that system tomorrow. The new part really looks high value - polished stainless steel.


Thursday, 30 January 2020

The Anchor system part 4 continued

Continuing from the last post. The next step was to add the stainless steel self-launching anchor roller.

The anchor-roller is sealed and screwed to the sprit and then the warp (rope part) is threaded through it and into hawser pipe and hence into the chain locker.


The problem came when I found that the size of the rope to chain splice and shackle are too large to go through the pipe.


It's not the end of the world though. I shall replace the pipe with a larger version and use the existing one aft as access for mooring lines. In other words, keeping the mooring line in a locker, similar to the chain locker, with the rope available for mooring via the hawser pipe. To be positive, this a safer way to store the rope than as a coil on deck.

Anchor System Part 4

As usual, it's two paces forward and one back. The problems arise both from buying online using multiple suppliers, and the fact that the anchor system is not part of the original boat design but my own customisation. 

The upside is that you can order online from your workshop, to a supplier 100s of miles away, and you get the goods the next day. The downside can be those dimensions you couldn't check online which turn out to be the ones that cause problems. I'll start from the beginning so you can see how things don't go to plan. Learn from my mistakes.

From my last post (Part 3) you will see I built a chain locker in the forepeak. I was worried it would be too small, but rest assured it's fine - odd shaped volumes can be deceiving - there's plenty of space.

My first move was to begin to build a Pulpit! I began by preparing a piece of mahogany with a bracket which will be the Sprit (as in bowsprit).


Using the hawser pipe as a template, I marked and then cut a hole through the sprit.


Positioning the sprit carefully, I marked the deck below with a pencil before cutting a hole through the deck.   Cutting holes in decks and hulls really makes me twitch: spending all one's time keeping water out is the antithesis of piercing the boat.


This hole gives access to the chain locker which you can just see through the hole, via the pipe you can see below.


I cleaned them up and varnished the sprit and its bracket: two coats sanded between coats. Once the varnish was dry I glued the sprit to the deck. Then mixed up epoxy resin with filleting powder which I poured into a icing bag and piped along the edges where the sprit meets the deck.


Using the same epoxy filleting mix to fix the mahogany sprit bracket in position. This bracket offers a certain amount of strength but is primarily my idea of making the sprit look part of the boat, rather than a piece of wood glued on.. The photograph was taken before I cleaned up the epoxy overrun.


The automatic bow anchor launching roller was the next piece to be added.


I'll continue the rest of this post separately, as Google has stopped me adding anymore photographs 


Thursday, 23 January 2020

Anchor System Part 3

I was looking forward to a good day on the boat today but we had unexpected visitors. At least I got the chain locker finished.


I sealed the hatch in the same way I did for the ports, using Butyl rubber mastic sealant tape.