Wednesday, 22 January 2020

Anchor System Part 2


Finishing off yesterday's post: the plywood annulus is now firmly glued in place and I have given it all a good coat of varnish. When the varnish is dry, tomorrow, I will finish fitting the chain locker hatch.


Meanwhile, I have taken delivery of the anchor and the rode. The rode is the name given to the rope (the Warp) and chain combined. It was an extremely heavy parcel.


Also delivered was the Chain Pipe. This devise fits into the fo'c'sle (as we call the forecastle deck). This gives access to the chain-locker for the rode.


Two Views of the Chain Pipe

Finally, I received the towing-eye - for launching and retrieving the boat on and off the trailer.


I also made a mahogany bracket, the purpose of which will be seen later


Tuesday, 21 January 2020

Anchor Systems.

To remind you, I write as if the reader is a novice; if you're not, then you may be amused by my take on all things to do with anchors.

My first instinct was to buy a cheap anchor and tie it to the boat with a long piece of rope. When the time came, just throw the anchor over the side ... job done! My conscience got in the way and I did some research; after coming all this way why not do anchoring professionally. I discovered a whole new art form.

I learnt that there are lots of types and sizes of anchor so which one would suit me best. The rule-of-thumb for getting the right weight of anchor is:

One pound for each foot of the boat's length, or, one Kg for each metre.

So I needed a 15 pound (7.5 kg) anchor.  There are many types of anchor and the one best suited for me was a Bruce. These came out of the need to hold oil-rigs in place and have been developed for the likes of me.
You can get really expensive shiny Stainless Steel ones but I settled for a galvanised steel one. Mine comes with 5 metres of chain and 50 meters of rope.

Rather than go through the theory of the system I intend to simply show what I do and explain at each stage. That way we slowly build up the system.

STAGE 1  The Chain Locker
With all that chain and rope I needed a chain locker. I went right forward into the wheel house and cut a hole in the forward bulkhead.


Using folded paper to get the shape I made a plywood floor inside the locker; fixing it in place with epoxy fillets


I bought a hatch door for the locker for £25 (US$ 33) this saved the time needed to make one and also matched the two ports already in that location


The hole I had was too large for the hatch: I had to make it large to get the floor into the locker. The result was when the door was offered up there were gaps in places


To overcome this I cut out an annulus from 3/8" plywood


The annulus was placed around the spigot of the hatch and offered-up


It all fitted very nicely. The hatch was removed and the annulus glued with epoxy resin and clamped in place to cure. That is the current situation.

Note Rope Inside the Locker

Tomorrow I fit the hatch in place and move onto the next stage

Thursday, 2 January 2020

Internal Fitting of Wheelhouse Windows

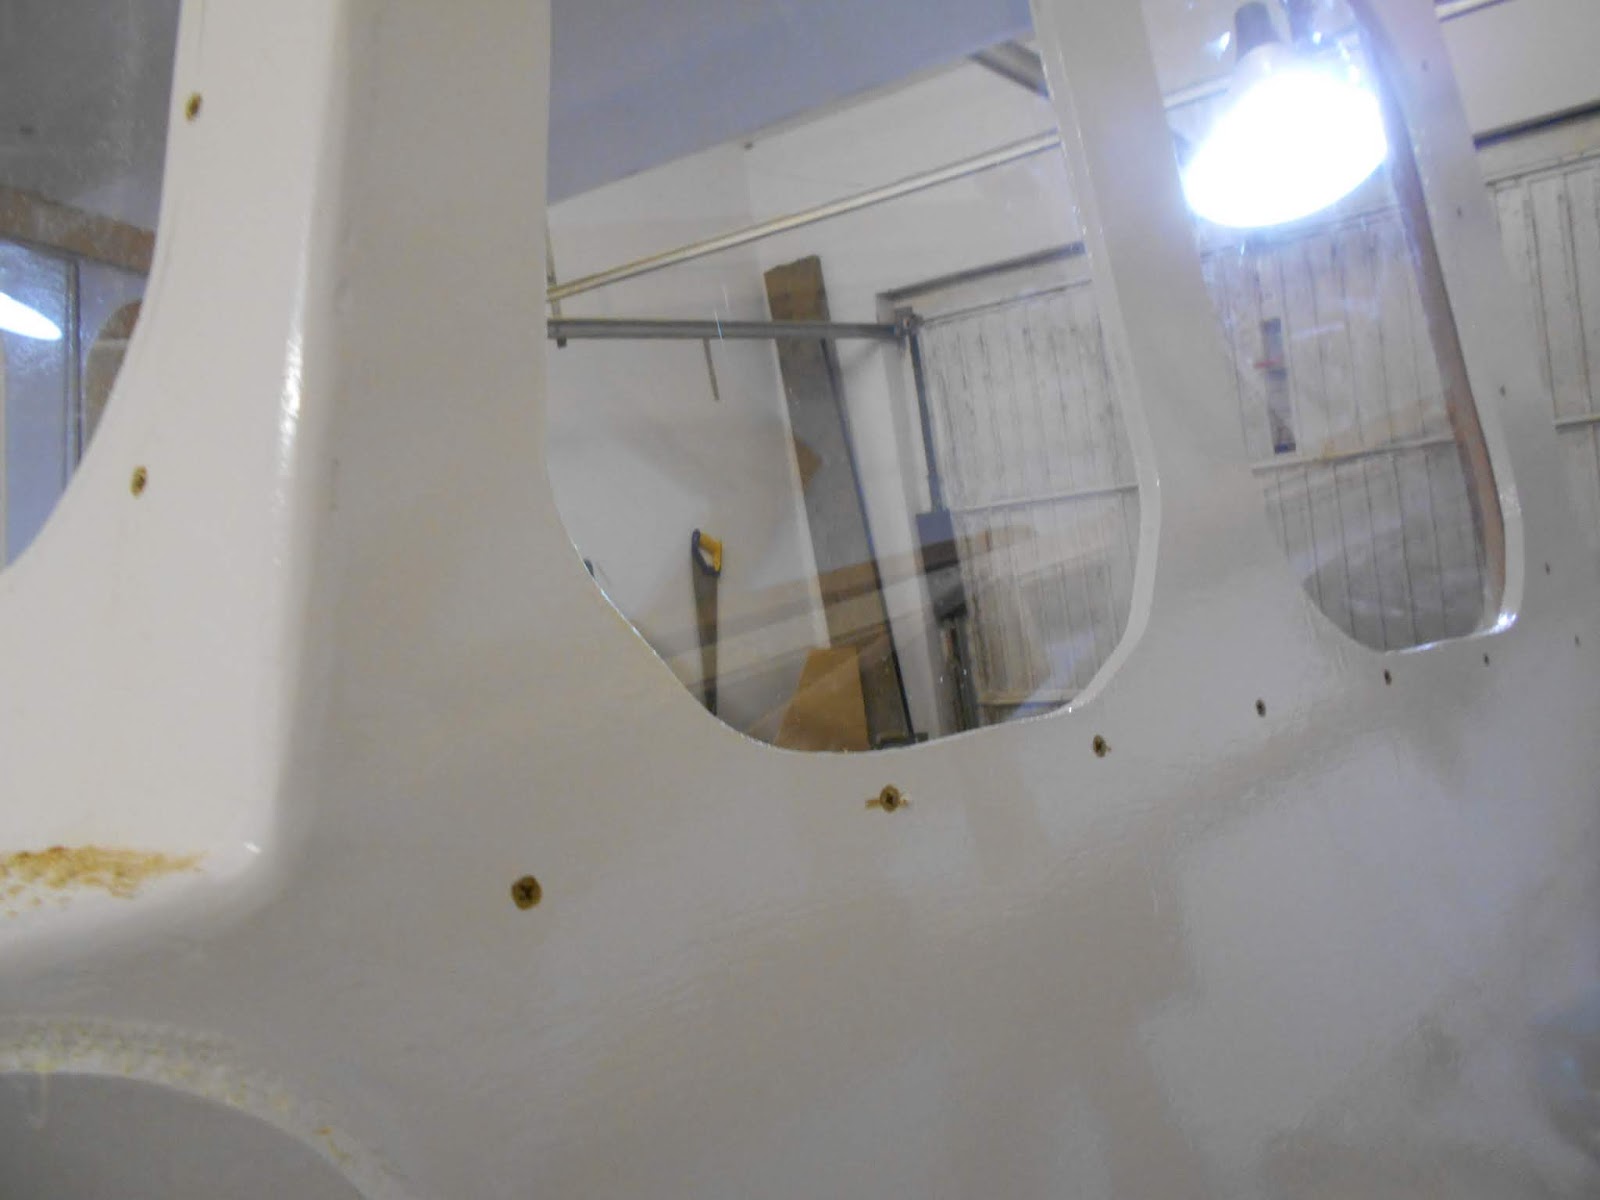
 I have to ensure that I can replace the see-through polycarbonate windows if they are damaged. For this to happen I have to attach to inner glazing battens with wood-screws, inserted for outside the window.

Glazing Battens Inside Wheelhouse


Screws attaching Internal Glazing Battens
To summarise,
1. the polycarbonate sheets are left rectangular and placed inside the cut our ports.
2. the battens have a rabbit cut in them (1/4" x 3/8") that act as grooves into which the 'window-pane' slides.
3. The screws are inserted from the outside to clamp the battens and polycarbonate in place.


All these screws are countersunk and will need to be concealed by filling, sanded and painted them. 

To replace damaged windows in the future I will need to remove these screws, therefore, I attached photos here of all the screws as a reference to their location.


Thursday, 26 December 2019

Fitting The Forward Ports

I gave the wooden blanks a three  coats of white paint and then fitted the ports.

I began by purchasing a reel of 'Harbe Butyl Tape Extra long 3 mm x 25 mm x 12 meter (1/8" x 1" x 15') Premium quality rubber mastic sealant tape grey (gray)' from Creek Side Sales EU for £15.80 (US$ 20 ish). I'm told that this gives a great watertight joint and comes away easy, many years later, if you are repairing or replacing.


I found it easy to work with and clean to the hands as long as you keep it 'flat' and don't let it fold back on itself .


I placed the tape flat along the ports, covering the flanges (with the screw holes) 


I similarly covered the outside flanges (above)


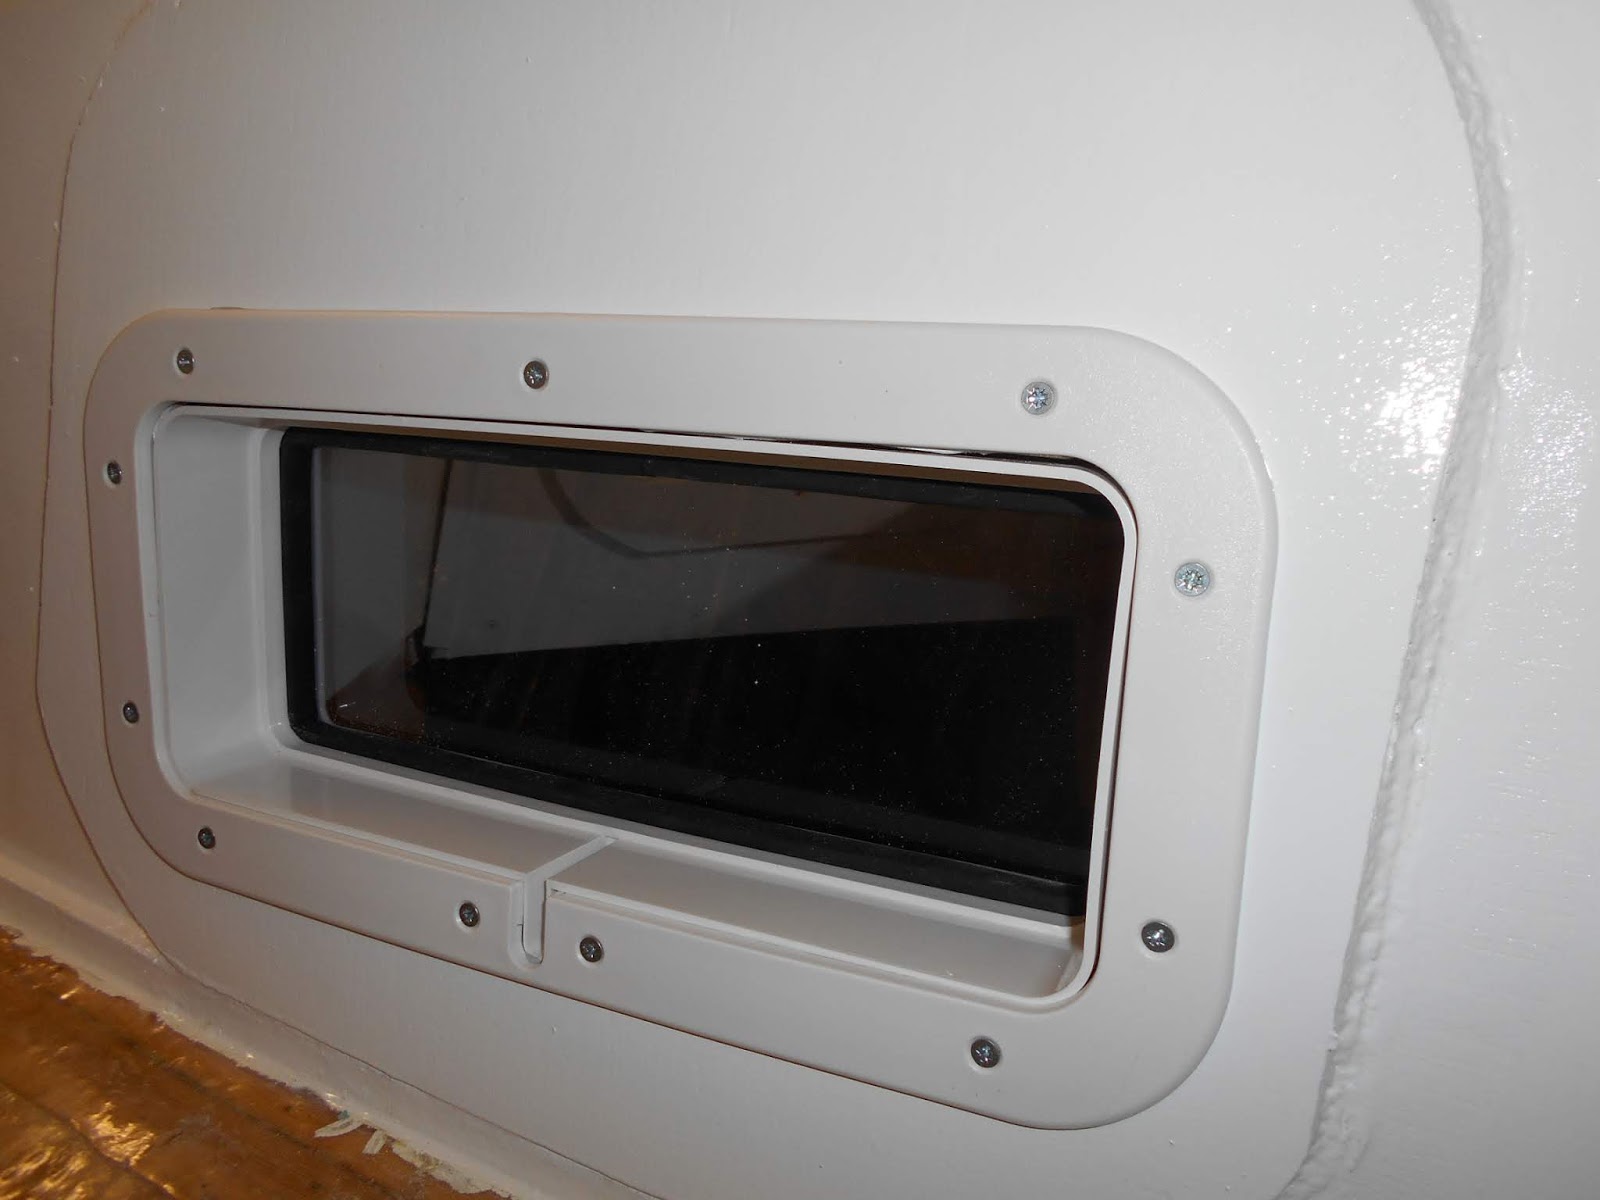
Next the ports were fitted and screwed internally (above) so that the edge protruded through to the outside of the cuddy  (below)


 The outside flanges, already primed with sealant tape (below) was placed over the protruding edges.


The outside flange was then screwed in place (above)


Meanwhile .... a Happy And Healthy 2020 to everyone


(Ignore the forward port, I just placed it there for the photo, rather than leave a hole)

Sunday, 15 December 2019

The Forward Ports

This is a short follow-up on the previous post. I am talking about the most forward portholes in the wheelhouse, one on either side, near the deck.


Now I have decided to abandon customising and fitting the 'windows' with rubber seals, the aperture is much too large for the rectangular port I have purchased as an alternative.

Purchased Port

To combat the difference in size and shape I have made and fitted external and internal blanks.


External Blank
Internal Blank
As you can see they were 'glued' with epoxy resin including fillets around the edge.

When the epoxy had fully set the port was offered-up. 

Internal view of the new port
There remains only for the blanks to be tidied up and painted before permanently sealing and fitting the ports.

Wednesday, 11 December 2019

The Best-Laid Plans of Mice and Men Often Go Awry

....or... as Robbie Burns actually wrote it, "“The best laid schemes o' mice an' men  Gang aft a-gley.”

You can see from my previous post that I researched the process of fitting windows in the wheelhouse.


I went ahead and purchased the expensive rubber seal and the polycarbonate. The seal, however was massive and spiralled like a corkscrew.


 I tried leaving it on a radiator overnight to soften but no luck. I soaked in hot water, played a hairdryer on it as I tried to fit it all without success. Finally I tried cursing it and throwing it the length of the boathouse ... but no luck. Speaking to others who have tried it, without success, I decided to take alternative methods which didn't involve rubber seals.

I have began with the two lights (windows), one on each side of the cuddy part of the wheel house.


For these I bought two opening watertight ports  which you can see below. These were remarkably cheap at £25 each (US $33). 


They don't fit neatly into the window shape that I have cut out of the bulkhead as they slightly longer, narrower and a different shape. Consequently, I'm having to devise a way of fitting them.


I've started by cutting out a blank in 1/2 inch (12mm) marine ply into which the port will fit. This will be glued to the outside of the wheelhouse. Meanwhile I have cut another blank for the inside (below).


How this all comes together will become obvious in the next post when I fit the window into the boat  

Monday, 16 September 2019

Slapping Paint About and Planning Windows

Ages since I posted anything on here, been busy elsewhere.....however, I have been working on the boat when I can.

Last time, I was starting to put the ornamental planking on the decks etc. I've finished that job and gave them a coat of epoxy resin followed by a covering of fibreglass cloth. I tried cutting strips of the cloth but it shreds into threads and makes a mess and so I had a bright idea and bought rolls of  three-inch fibreglass tape. I wanted the fibreglass for two reasons:

(1) to make the decks watertight.


(2) to give a less slippery walking surface


I've started to paint the wheelhouse


The next move is to work out the best materials and methods of fitting the windows. Here is some info I've researched.

Here’s a quick look at the most popular marine window materials on the market today:
  • Vinyl and Polyester Composite: An excellent composite material, vinyl and polyester composite fabrics offers the flexibility you need to curve and bend along a boat’s contours easily. Fabrics made using this composite stay tight against the frame and provide waterproof and mildew resistance. Herculite Inc. offers this composite combination in two top quality marine grade fabrics: Riviera and Regatta.
  • Clear Pressed Polished Coated Vinyl: A popular choice for everyday marine use, clear pressed polished coated vinyl can be rolled back easily, which is great for boat tops. Herculite’s Strataglass is one of the top brands on the market for this versatile material. Another reason for the popularity of this material it is available with scratch-resistant special coatings, which extend the life of the material considerably. Strataglass is one such example of a material that offers such a coating: VueShield.
  • Polycarbonate: Made from a semi-rigid clear plastic, polycarbonate windows are widely considered to be nearly unbreakable. With polycarbonate, user visibility is clearer that other clear plastics, plus it can be coated with scratch and UV resistant coatings for additional protection. Polycarbonate is an excellent choice for rugged uses. However, this textile isn’t soft like clear vinyl so it can’t be rolled up for storage. It also tends to be pricey.
  • Acrylic: Like polycarbonate, acrylic panels are semi-rigid and provide excellent visibility. Acrylic panels are very difficult to break, making them an excellent choice for rugged marine use. However, acrylic fabric windows can be scratched easier than some other options, and the panels can’t be rolled up for storage. Acrylic can also be expensive, so it’s best used sparingly.
When it comes to marine vinyl window materials, remember to consider the cost of each material and how that relates to its longevity. Some materials will last longer than others, which make their additional cost make sense over than cheaper materials that will require frequent replacement. Alternately, if you can maintain a more affordable and versatile fabric like polycarbonate or a clear polished pressed vinyl properly over time, why not choose the more cost effective solution (and get benefits like a roll up window?) How you use your boat and what your needs are will dictate which material is best for you.
One final note: remember that the gauge (a.k.a. thickness) of your windows affects how it will look, as well as its clarity and flexibility. Some marine window materials come in gauges as thick as 40 gauge and as thin as 12 gauge. Before you buy, check out this quick buying guide on marine window materials to make sure you’re getting the perfect choice for your needs.


(a) From the above, I've decided to use 6mm (0.25 inch) thick polycarbonate.  The following link allows me to size, cost, order to cut size the polycarbonate.


The rubber seal I need I found on 

https://www.sealsdirect.co.uk/shopping.asp?intDepartmentId=4#27


From the chart I chose:

(b) window rubber seal WR71 as it fits the 12mm (1/2") thick bulkhead and the 6mm (1/4") polycarbonate window.

(c) Additionally, I chose te FS34077 rubber filling strip that goes with the WR71 seal.

(d) Finally, a glazing tool GT75 with tips GT3243  appropriate to the above seals


I then uploaded a video on how to fit the rubber 

VIDEO ON FITTING RUBBER SEALS